SpringMVC与Mybatis整合过程及部分配置
导包
关于导包,如果是Maven项目,直接在pom文件中配置,会自动在私服或者maven的中央仓库中下载。而这里采用是手动导入jar包的方式。
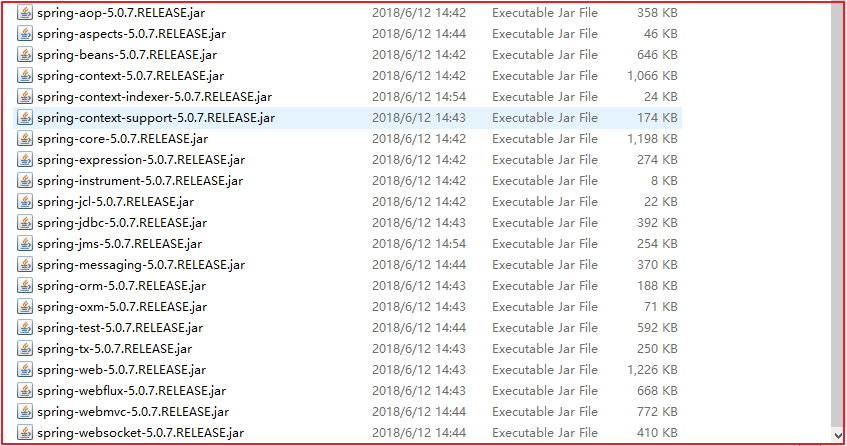
Spring相关的jar包
mybatis相关的jar包
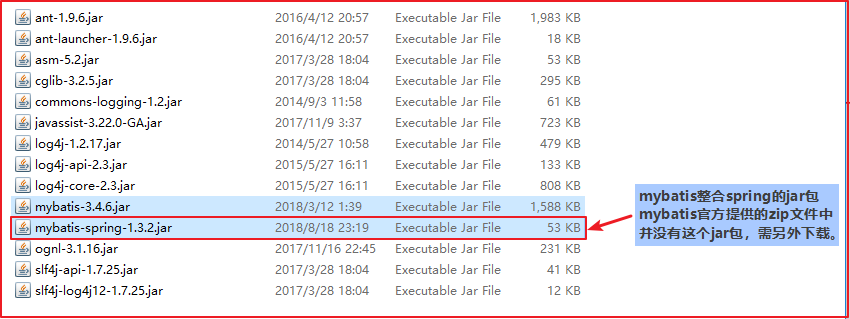
其他jar包:驱动、连接池等

导约束
导入约束这部分方法我在Struts2这篇文章中介绍过,方法是一样的,这里就不再赘述,用到相关的约束如下:
1 | spring-beans.xsd |
配置applicationContext.xml
applicationContext.xml是Spring的核心配置文件,主要负责对象的管理、事务的管理,当然也包括配置数据库连接
1 | <?xml version="1.0" encoding="UTF-8"?> |
配置db.properties
db.properties文件主要是配置数据库的连接信息,以mysql数据库为例:
1 | jdbc.driverClass=com.mysql.cj.jdbc.Driver |
配置springmvc.xml
springmvc.xml文件是SpringMVC框架表现层的核心配置文件,主要进行映射处理器、适配处理器、视图解析器等组件的相关配置。
1 | <?xml version="1.0" encoding="UTF-8"?> |
配置web.xml
web.xml整个web项目的配置文件,在这个文件中需要配置Spring容器随项目的启动而创建,即配置Spring监听器,同时还要配置SpringMVC的前端控制器…
1 | <?xml version="1.0" encoding="UTF-8"?> |
配置SqlMapConfig.xml
SqlMapConfig.xml是mybatis的核心配置文件,下面是在此文件中配置别名:
1 | <?xml version="1.0" encoding="UTF-8"?> |